Mise, Playdate, Neovim - My Playdate dev setup
Note: If you don't want to read all of this and just want to grab the Playdate template project, here you go.
I recently caved in and bought myself a Playdate and intriguing little consoled by Panic.
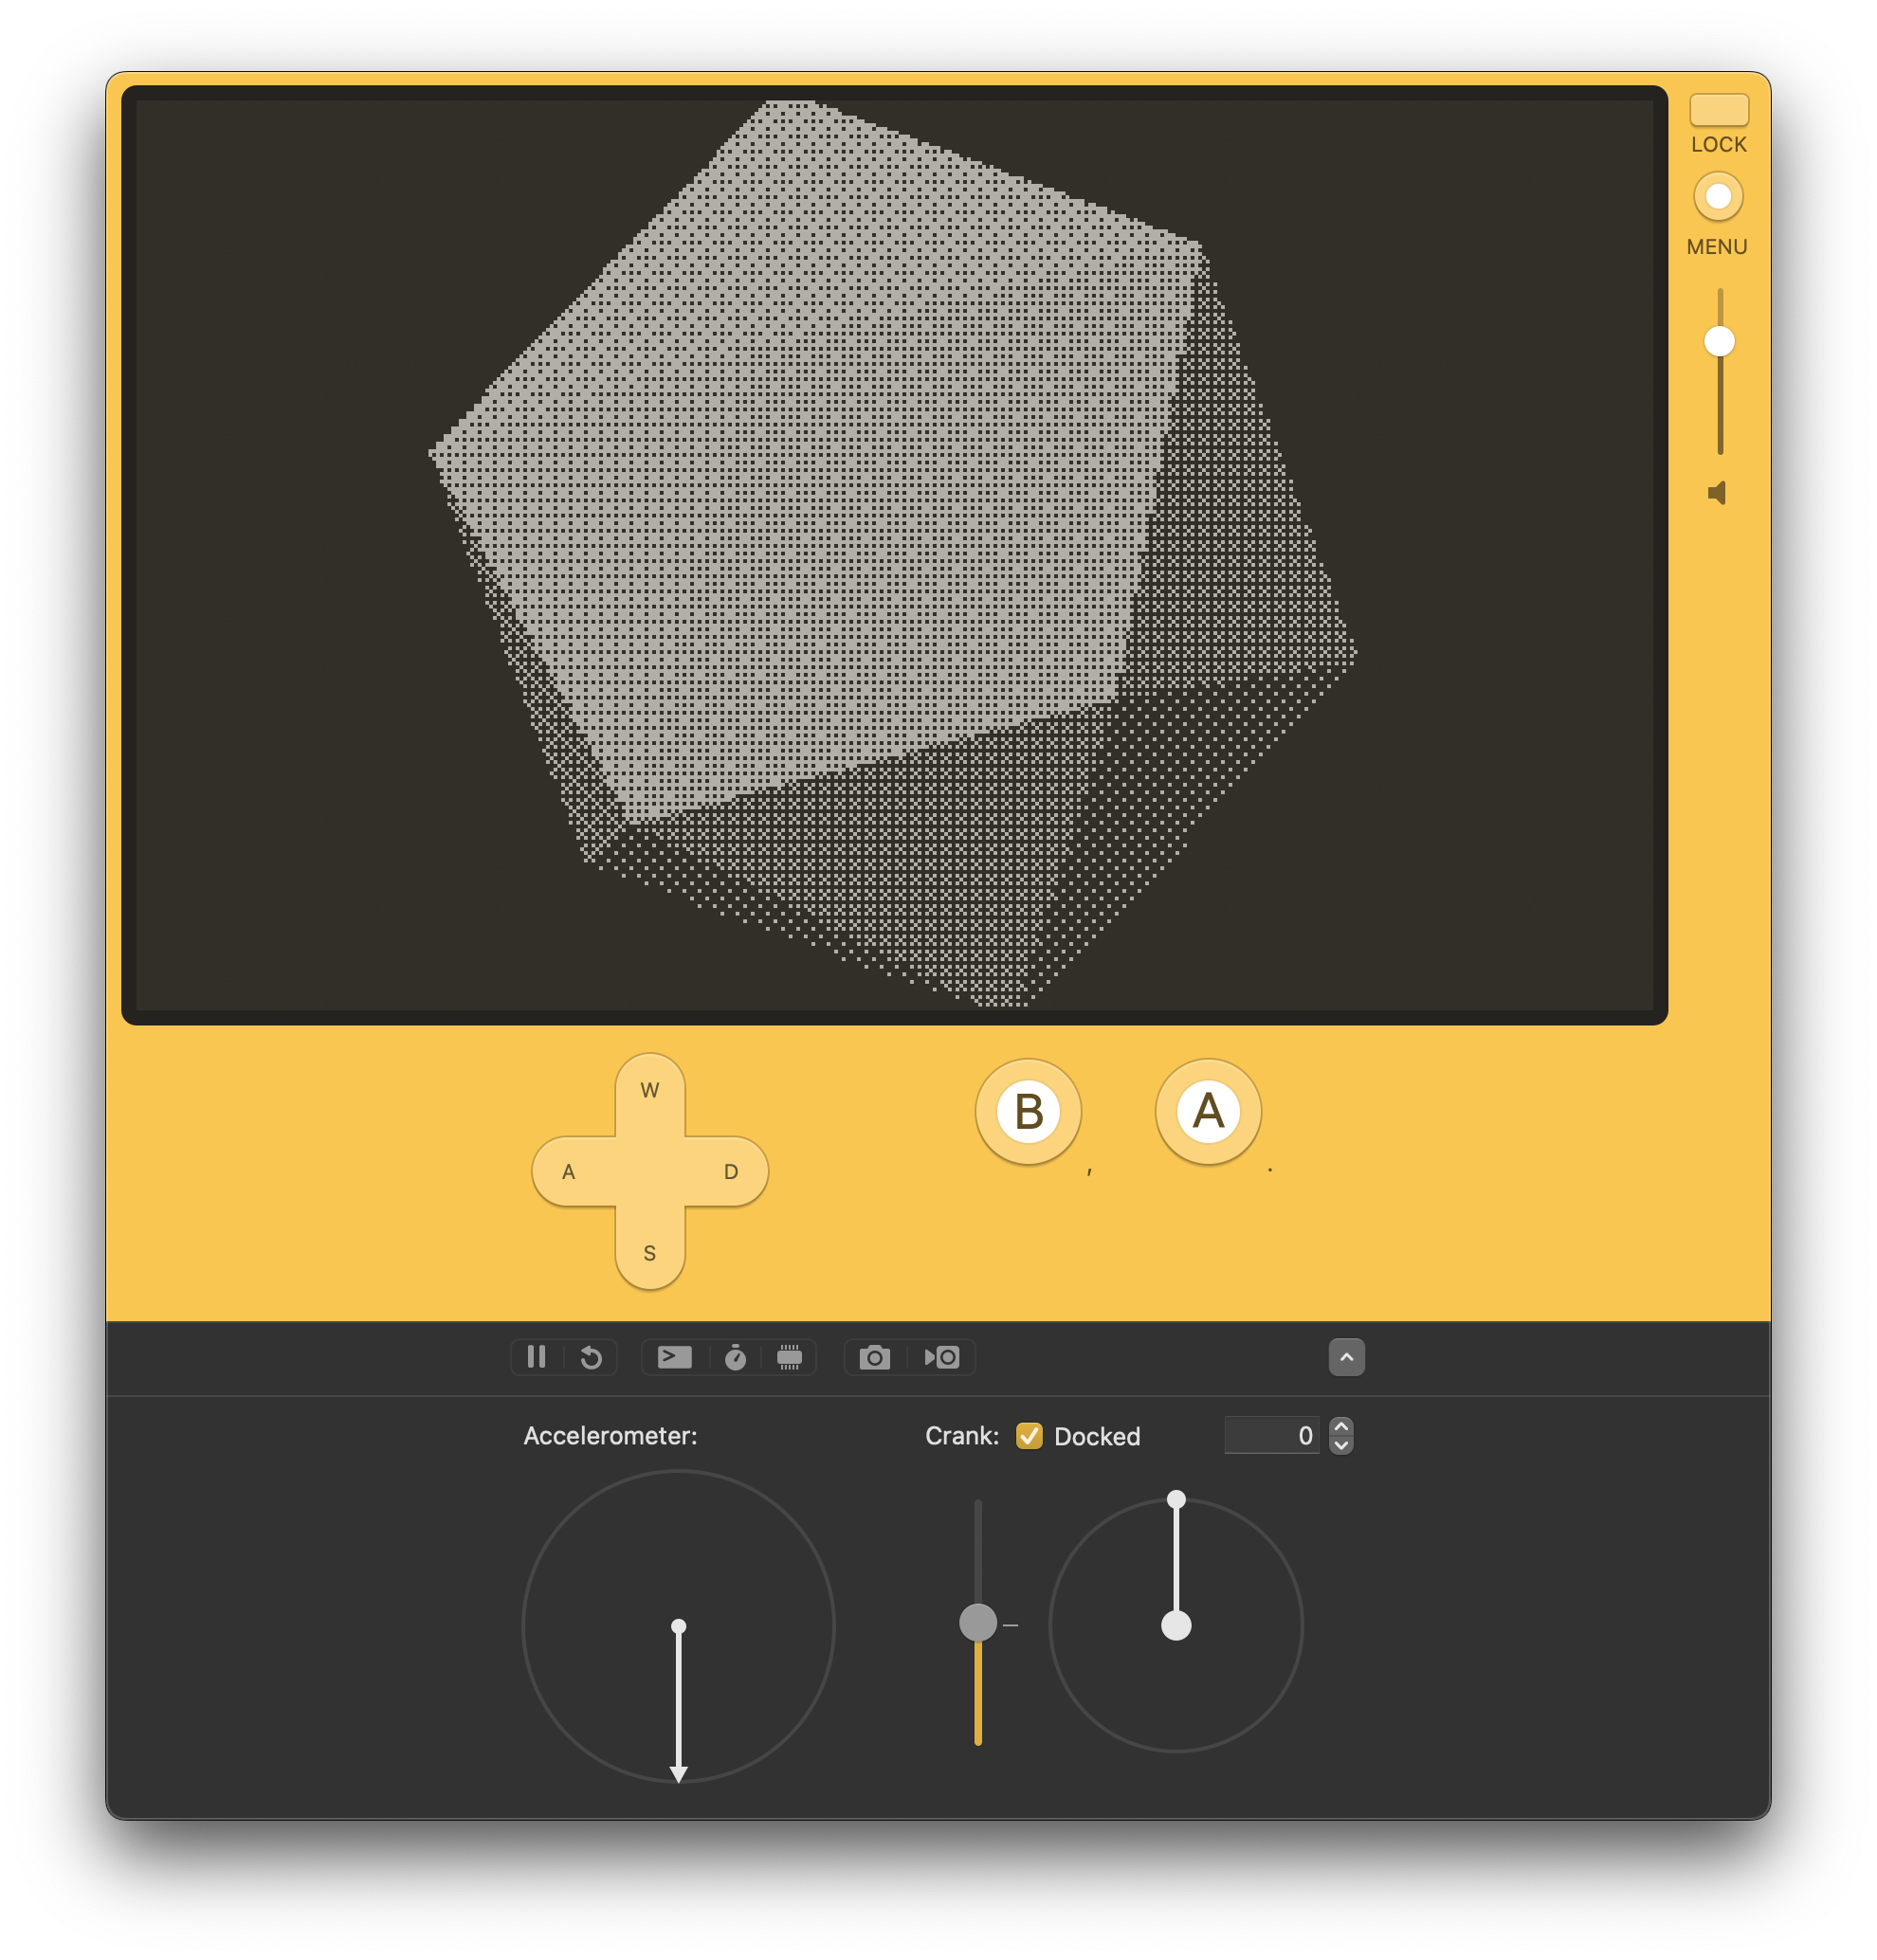
I haven't received it as of this writing, but fortunately Panic were smart and included a Playdate simulator
with the SDK. Below is a screenshot of the simulator running the icosahedron.lua example that is included with the SDK.

Using the simulator I can familiarize myself with the Playdate platform and start developing my game before I have my actual hardware! It's also just handy to have a way to quickly test changes to a game without having to have a secondary device to deal with.
However, I found that using the Playdate build tool pdc and then launching the Simulator from the command line to be a little bit cumbersome.
Nothing really too bad, for example on MacOS you can simply use the open command from a terminal to launch a PDX bundle (the resulting artefact emitted from pdc).
This is fine enough and certainly not a bad way of doing things.
- Write code
- Build code with something like
pdc Source/ game.pdx - Test game in the simulator with
open game.pdx
EZPZ, and if that works for you, then you can stop here. But I like to go a bit further and make my projects more robust and configurable. I often work across several different machines, spaning MacOS, Linux, and even Windows.
Enter Mise.
Mise, or MISE-EN-PLACE
Mise is a really cool polyglot package and tool manager. It works in a very sensible manner, by allowing you to have a global context for tools that you want to manage system-wide using mise. This global context can be overriden by a local Mise config file. I presonally like to have one of these per project that I am working on.
This config file allows you to define things such as tools to be installed and made available, environment variables, tasks, and other things.
Here is my mise.toml file that I use for my Playdate projects.
[env]
PLAYDATE_SDK_PATH = "/Users/sabol/Developer/PlaydateSDK"
PLAYDATE_LUACATS_PATH = "/Users/sabol/Developer/playdate-luacats"
GAME_BUNDLE_NAME = "FishTales.pdx"
SIMULATOR_PATH = "{{env.PLAYDATE_SDK_PATH}}/bin/Playdate Simulator.app"
EDITOR = "nvim"

[tools]
lua-language-server = "latest"
The [env] section is where I define some useful environment variables.
PLAYDATE_SDK_PATHallows tasks and scripts in my project to easily locate the Playdate SDK on my system. In this case a Macbook.PLAYDATE_LUACATS_PATHmore on this later, but this is used in a.luarc.jsonfile to allow my editor to have proper LSP support for the Playdate Lua SDK.GAME_BUNDLE_PATHThis is used by one of my mise tasks which builds the project. Having it in mymise.tomlallows me to easily change the name in one place.SIMULATOR_PATHThis allows another mise task (more on these below) that launches the Playdate simulator by using some of the previously defined env vars.EDITORThis just defines the editor env var for my project context so that any tools (like git diff) can use the appropriate editor.
This set of env vars will likely expand over time as I improve the overall dev experience of using mise to help facilitate Playdate development.
Now moving on to the [tools] section.
This is pretty straightfoward. This section of the mise.toml file allows you to define tools to be installed to the local environment by mise.
In this case I just install lua-language-server for use with neovim so that I can have proper LSP support while editing Lua code.
Tasks are the really cool part in my opinion. There are a couple of ways to define tasks using mise. You can read about them here.
I primarily use Nushell as my shell of choice. As such I wanted to author my project tasks as Nu scripts. So, I leverage mise's ability
to handle tasks that are defined as scripts. Again, there are multiple ways to do this, but the approach I took was to create a directory in my project called mise-tasks/ and to create separate files for each task that each contain the relevant nushell code to do what they do.

Here is the code for each of the tasks I have defined. You can also grab this setup as a project template from the sourcehut repo.
These tasks can easily be ran from the project directory like so
mise run <task-name>
mise-tasks/simulate
This simply launches the simulator app on MacOS (it would need to be tweaked to work on other platforms) using the env vars defined in mise.toml.
#!/usr/bin/env nu

#MISE description="Launch the PDX bundle in the PlayDate simulator"
/usr/bin/open -a $"($env.SIMULATOR_PATH)" $"($env.GAME_BUNDLE_NAME)"
mise-tasks/clean
This removes the PDX bundle that results from the build task.
#!/usr/bin/env nu

#MISE description="Clean the pdx build"
rm -rf $env.GAME_BUNDLE_NAME
print $"Removed (pwd)/($env.GAME_BUNDLE_NAME)"
mise-tasks/build
This task uses the Playdate compiler (pdc) to build the PDX bundle which can be used with the simulator or the actual Playdate hardware.
#!/usr/bin/env nu

#MISE description="Build the Playdate game bundle"
print $"Building (pwd)/($env.GAME_BUNDLE_NAME)"
pdc Source/ $env.GAME_BUNDLE_NAME
In each of these tasks the shebang is really important.
#!/usr/bin/env nu
This tells mise, and more generally the shell in use, what interpreter to use for executing the code in the file. In this case I have it setup to point to the nushell binary since I an using nushell for authoring my tasks.
This is a really handy setup to have, as I can easily expand it to support more complex tasks, such as preprocessing assets.
I would also like to expand the template project to support more common shells, like bash for example. Although, I do highly recommend giving Nushell a try if you're feeling a bit adventurous.
Next up is where mise shines again by allowing me to set project specifc env vars that can be used by my Neovim configuration. This approach also helps me keep my Neovim configuration slim and rely less on plugins and adapt my configuration to suit whatever project I happen to be working on.
Neovim and Lua LSP setup
In order to get good support for LSP features like autocomplete, code suggestions, error highlighting, within a Playdate Lua project I had to do a little tinkering.
First I needed to create a .luarc.json file which allows you to specify settings for the lua-language-server. The settings that can be configured here are quite well documented here. My .luarc.json is shown below.
{
  "$schema": "https://raw.githubusercontent.com/LuaLS/vscode-lua/master/setting/schema.json",
  "workspace.library": ["${env:PLAYDATE_SDK_PATH}/CoreLibs", "${env:PLAYDATE_LUACATS_PATH}"],
  "diagnostics.globals": ["import"],
  "diagnostics.severity": {
    "duplicate-set-field": "Hint"
  },
  "format.defaultConfig": {
    "indent_style": "space",
    "indent_size": "4"
  },
  "runtime.builtin": {
    "io": "disable",
    "os": "disable",
    "package": "disable"
  },
  "runtime.nonstandardSymbol": ["+=", "-=", "*=", "/=", "//=", "%=", "<<=", ">>=", "&=", "|=", "^="],
  "runtime.version": "Lua 5.4",
  "hint.enable": false,
    "diagnostics.disable": [
        "missing-fields",
        "need-check-nil"
    ]
}
The workspace.library field is really the most important one other than runtime.version. workspace.library points to the CoreLibs directory of the Playdate SDK and to the path at which I have the playdate-luacats project. This allows the language server to index any Lua files and libraries contained under the paths specified so that you can get LSP suggestions, etc. for the relevant code.
playdate-luacats is a nice project that aims to more fully define the Playdate Lua API and types for use with an LSP. I highly recommend it so that you can get nice LSP support for the playdate API when developing your projects!
It is also important that the runtime.version field is set to Lua 5.4. This is because the Playdate supports Lua 5.4 which has some nice features that other versions may not have. For example the <const> annotation, which allows you to define const variables. You will see this used throughout the Playdate documentation in fact. So, it is nice to make sure your LSP is configured to support these features and avoid the dreaded red squiggles.
Last but not least, I had to make some changes to my init.lua which is the primary configuration file used by Neovim, which is also my editor of choice.
This isn't strictly necessary, as lua-language-server typically should just automatically pick up on a .luarc.json file. But in my case I wanted to modify my
neovim setup to override any other settings I had specified in init.lua with the settings defined in a .luarc.json if it was present.
To do that I added some logic to the on_init function when defining my configuration for the Lua LS.
Note: I use nvim-lspconfig to manage LSP configurations with nvim. Neovim also has native LSP support too.
-- Setup our servers
local servers = {
  lua_ls = {
    -- cmd = {...},
    -- filetypes = { ...},
    -- capabilities = {},
    on_init = function(client)
      -- If there is a .luarc.json file in the current dir
      -- use it in place of the settings defined below, which are
      -- geared towards working with lua for Nvim.
      if client.workspace_folders then
        local path = client.workspace_folders[1].name
        if vim.loop.fs_stat(path .. '/.luarc.json') then
          -- this bit is important. If we have a .luarc.json then we just return and don't continue our general setup.
          return
        end
      end
      client.config.settings.Lua = vim.tbl_deep_extend('force', client.config.settings.Lua, {
        runtime = {
          -- Tell the language server which version of Lua you're using
          -- (most likely LuaJIT in the case of Neovim)
          version = 'LuaJIT',
        },
        -- Make the server aware of Neovim runtime files
        workspace = {
          checkThirdParty = false,
          library = {
            vim.env.VIMRUNTIME,
          },
        },
      })
    end,
    -- Supply some global settings that should always be set when working with Lua.
    settings = {
      Lua = {
        completion = {
          callSnippet = 'Replace',
        },
        -- You can toggle below to ignore Lua_LS's noisy `missing-fields` warnings
        diagnostics = { disable = { 'missing-fields' } },
      },
    },
  },
}
-- setup our LSP servers
for server_name, server in pairs(servers) do
  require('lspconfig')[server_name].setup(server)
end
My full neovim configuration can be found here if you are curious. I'm working on slimming it down, as I got a bit too plugin happy for my tastes.
That's it
I hope someone finds this useful, and again don't forget to check out the project template repo.
Thanks for reading. Happy hacking!
